Upgrading your Steam Deck SSD may seem daunting at first glance, but fear not! It doesn’t have to induce panic or consume a lot of time. With a few straightforward steps, you can smoothly transition to a new SSD without losing any data. Here’s a step-by-step guide to help you through the process. Just a friendly tip: avoid the mistake of assuming established Steam Deck SSD upgrade methods will work seamlessly for your needs, especially when dealing with Linux.
Before diving into the Steam Deck SSD upgrade, the first decision to make is whether you want to reimage your Steam Deck and start anew, or if you prefer to fully clone your existing setup.
If your Steam Deck only has a handful of games and you’re not concerned about data usage, reimaging with the latest SteamOS and using Steam’s default file transfer service might be the quickest route. However, if you’ve customized settings extensively in desktop mode or have a collection of emulators and ROMs, a clone is the way to go. This avoids the hassle of re-downloading games, reconfiguring settings, and navigating the labyrinth of SteamOS.
Whether you choose to clone or reimagine your Steam Deck SSD, the process shouldn’t be too stressful if you follow these steps. First, gather the necessary tools:
What You’ll Need:
- Steam Deck (preferably with 25% charge or less remaining)
- 2230 form factor NVMe SSD
- Windows PC
- Pair of tweezers and a plectrum/plastic card
- PH1 or PH0 screwdriver
- Optional: small tray to keep screws organized
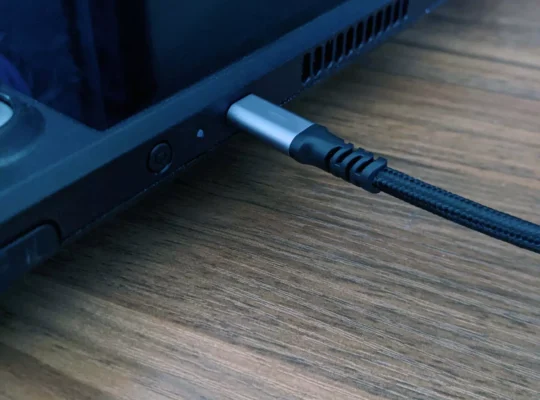
- If cloning: External NVMe enclosure, or…
- If reimaging: 8GB minimum blank external drive with USB Type-C connection (or an adapter)
A detailed Guide on how to clone a Steam Deck SSD
- Access Desktop Mode: Start by turning on the Deck and holding the power button, then tap to switch to desktop mode.
- Set Sudo Password (Optional): Consider setting a Sudo password for the process. To do this, tap the app launcher on the bottom bar (similar to the Windows start bar). Navigate to System > Konsole and type ‘passwd’ to set a password. Alternatively, click your Steam Deck user profile image at the top of the app launcher, then select Change Password on the right. Choose a simple password since it won’t display as you type.
- Identify Steam Deck Drive: In the Konsole, type the following command:
sudo lsblkEnter your password when prompted. This command will list all your storage devices. Note the name of your current NVMe drive, typically something like nvme0n1.
4. Clone the SSD:
- Ensure the Deck has sufficient battery.
- Plug your new NVMe drive into the Deck.
- In the Konsole, type:
sudo dd if=/dev/xxxx of=/dev/sda oflag=sync bs=128M status=progress- Replace ‘xxxx’ with your NVMe drive’s name.
- Hit enter to start the cloning process. Depending on your data, this may take some time.
5. Swap the SSD:
- Once cloning is complete, follow the steps to physically swap the SSD.
- Plug in the Deck to exit battery storage mode.
- It should boot up without issues.
How to Reimage the Steam Deck SSD (Alternative Method):
If you prefer to start fresh with a new SteamOS, follow these steps:
- Download Steam Deck Recovery Image: Save the recovery image on your PC.
- Prepare External Drive: Connect an 8GB+ external drive to a blue USB 3.0 port on your PC.
- Use Rufus: Open Rufus, a tool for creating OS boot drives.
- Check “List USB hard drives” under Advanced drive properties.
- Select the external drive under Device.
- Next to Boot selection, click Select and choose the Steam Deck recovery image.
- Click Start to create the bootable drive.
- Insert New SSD:
- Safely insert the new SSD into your Steam Deck.
- Reimage Steam Deck:
- Connect the imaged external drive to your Deck.
- Plug in the charger to exit battery storage mode.
- Turn off the Deck if it’s on, then hold Volume down and press Power once.
- Release Volume down when the Steam splash screen appears.
- In the boot menu, select the external drive to reimage from.
- Click “Reimage Steam Deck” in the top left of the desktop.
- Proceed through the prompts.
Voila! Your Steam Deck now has a fresh SteamOS installed. Time to start downloading and enjoying your favorite Steam Deck games without any hassle.